Friday, May 30, 2014

Local Antiquing

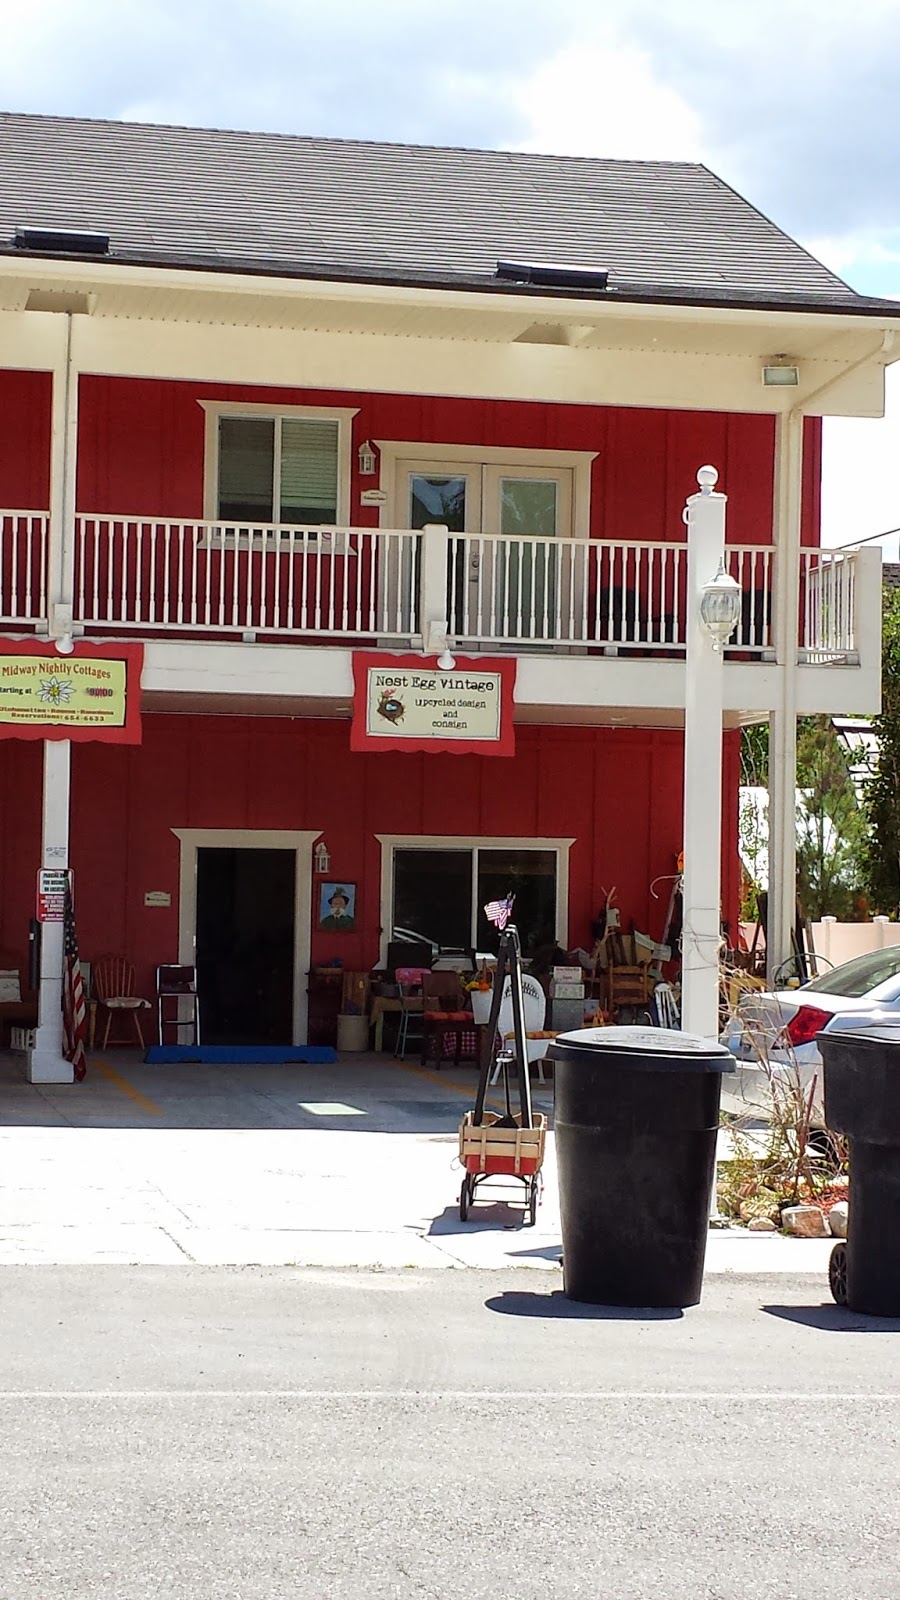
Buying vintage items for my home makes me happy!  I love stuff with a story.  Knowing the history of an object is really fascinating to me.  I am so lucky to live in a small town that loves it's history. There are a few antique shops in town on Main Street that attract the tourists, but I love to shop at one in particular.  It's called Nest Egg Vintage.


Karen (pronounced Car-in) is the owner and has only lived in Midway for about the same amount of time that I have.  She has retired here and is using her nest egg to sell antiques.  It's a fun shop full of many different items.  She has baskets, marque letters, farm equipment, saddles, enamelware, mason jars, dishes, vintage furniture, etc.  There is always something different and it is so fun to look around.  Today I found two things, old milk bottles in a crate, and an old chippy chair.  I shop for what I love and then find a home for it.  And I loved both of these items and snatched them up!


The chair was only $15!!!  I love chippy painted wood and this would be hard to replicate.  

It's so chippy!!


The milk bottles have red writing that will fit in with the other red vintage kitchen items that I already have.  


I love everything about this chair!! And my neighbors horses were so nice to pose for me in the background :)

Once I got the chair back in the house, I think I found a place for it, in our home office.  It's holding posters and maps all rolled up in a group. I didn't want kids sitting in the chippy chair because some of the paint is really peeling and I don't want to lose anymore of it then I have to.  Hopefully the bucket will deter kids from taking a seat. 


If you are ever in the Heber/Midway area and want a fun vintage store to visit, check out Nest Egg Vintage:

93 West Main Street Unit B
Midway, Utah
Find them on facebook under nesteggvintage

Tuesday, May 27, 2014

Rethinking The Moss R


 A few  years ago I put together a moss covered R (for my last name) and hung it on my front door.  I feel I must warn you all.....birds LOVE moss and will have no qualms in stealing moss off of your front door! I even hot glued more moss onto the sparse areas and the birds were thanking me for their comfy moss nests.  After a year of fighting with the birds, I decided a change was in order.


 I had started peeling off the moss in the picture, but you can see the patches of missing moss.  I have a flock of very brave birds in my neighborhood.  I decided to put an end to the fight with the birds and go with an easier finish on my R.

Chalkboard paint to the rescue!  I am pretty sure birds don't like paint.  After painfully pulling and scraping off the moss, not easy to do, I put on a coat of chalkboard paint.  It dries really quickly but you need to let it cure for a few days before you can write on it with chalk.


I added a ribbon to hang it from and then hung it up to cure.

 I think I am going to hang it by my fireplace, but I'm not positive yet.  I like the black finish against the stone of the fireplace.  I wasn't sure if I wanted to write on it or not but doodled on it to see.


I wrote all of our names and doodled some chalk art but I'm not totally sold on the look of it.  


Then I added a dot border but I think I might go back to the all black R.  I see so many chalk artists on Pinterest and think, "How hard can it be?", yeah, harder than I thought.  I used a chalk pen that wasn't very consistent in the amount of ink coming out.  I would get blobs of white ink and have to wipe off and start over.  Maybe I should practice or find some stencils. But I'll live with it for awhile before switching it up.  It was a fun, quick project and I love that!

Tuesday, May 20, 2014

Rethunk Junk Painting Project

Project to-do lists.....are your lists as long as mine?  I have good intentions but a lot of my projects get put on the back burner because life takes over.  Sound familiar? For example, I bought a wooden high chair for my fifth child around 6 years ago, with the intention of painting it.  


I had a pretty good excuse in my last home not to paint it.  My floors were travertine and my cabinets were distressed off-white.  The chair stood out against those colors.  But in my new home there is a whole lotta brown going on.  This chair might as well be on a secret military mission for how well it is camouflaged in its surroundings.  After a year of living with it I had to paint it. 

It's a brand new, fabulous chair!!  And it was beyond simple to change the color.  I have found so much success in painting by using chalk paint.  I found a recipe on pinterest and it has worked so well for me. It covers well and lasts with 5 kids in the house.  But I was having issues with the waxing step.  I use Minwax wax and it was covering well, but turning my lighter colored projects yellow.  I was getting frustrated.  But.....there is a store in Midway, Utah called All That Stuff In The Barn.  They carry country type accents, clocks, picture frames....all my favorite kinds of things!!  (It's really quite hard not to shop knowing this store is just around the corner!)  And they also carry a type of paint made by Rethunk Junk that is similar to chalk paint, but I feel that it goes on smoother and doesn't have a texture like the chalk paint.  


There are three steps in the Rethunk Junk paint system.  The Prep cleans off all of the gunk and whatever finish was on the surface, the paint (comes in several colors), and then the sealer.  I love the sealer!!  It is so much easier to apply than wax.  It dries quickly and leaves a colorless, smooth texture.  


I sprayed the Prep solution on, waited 30 seconds and then wiped it clean with a towel.  I then applied two coats of Seaside paint to my chair.  I let it sit about an hour and then sanded the edges to give it a vintage feel. Then I applied the sealer with a brush. 


 I LOVE the way it turned out!!  I love the color, the texture, and the sheen it has to it.  It's not too shiny, but not quite flat either.

 It's not camouflaged with the floor anymore.  Yay!!!!! I can see it!


 I love the color and it adds so much to my kitchen when it is next to my brown table and brown floors.  My kitchen table has the same problem that this chair did...it's brown and so is the floor.  There is no contrast.  My next project is to paint the table and chairs, not blue, but a color other then brown.  I can't wait to share that with you!!

Friday, May 16, 2014

My New Favorite Show


HGTV has been a part of my tv time for years.  A few of my faves, that aren't on anymore, are"Divine Design" with Candice Olson, and "Sarah 101" with Sarah Richardson.  But lately there haven't been any design shows that have captured my attention....until now!  Have you heard of a new show called "Fixer Upper"?? (image from Image from http://magnoliahomes.net/fixer-upper/ ) It stars Joanna and Chip Gaines from Waco, Texas and they help homeowners "fix up" their homes.  I love their country style and laid back family life.  

IMG_7877x
Image from http://magnoliahomes.net/fixer-upper/


Beautiful....right?!?!?!?!  I love Joanna's use of vintage finds from flea markets.  She has an amazing design sense.  I find myself pausing the tv just to look more closely at her finished rooms.  Check out their website magnoliahomes.net and watch their new show Fridays on HGTV.  I just wish they had a better time slot.  Thank goodness for DVRs!    

Thursday, May 15, 2014

Fake It 'Till You Make It

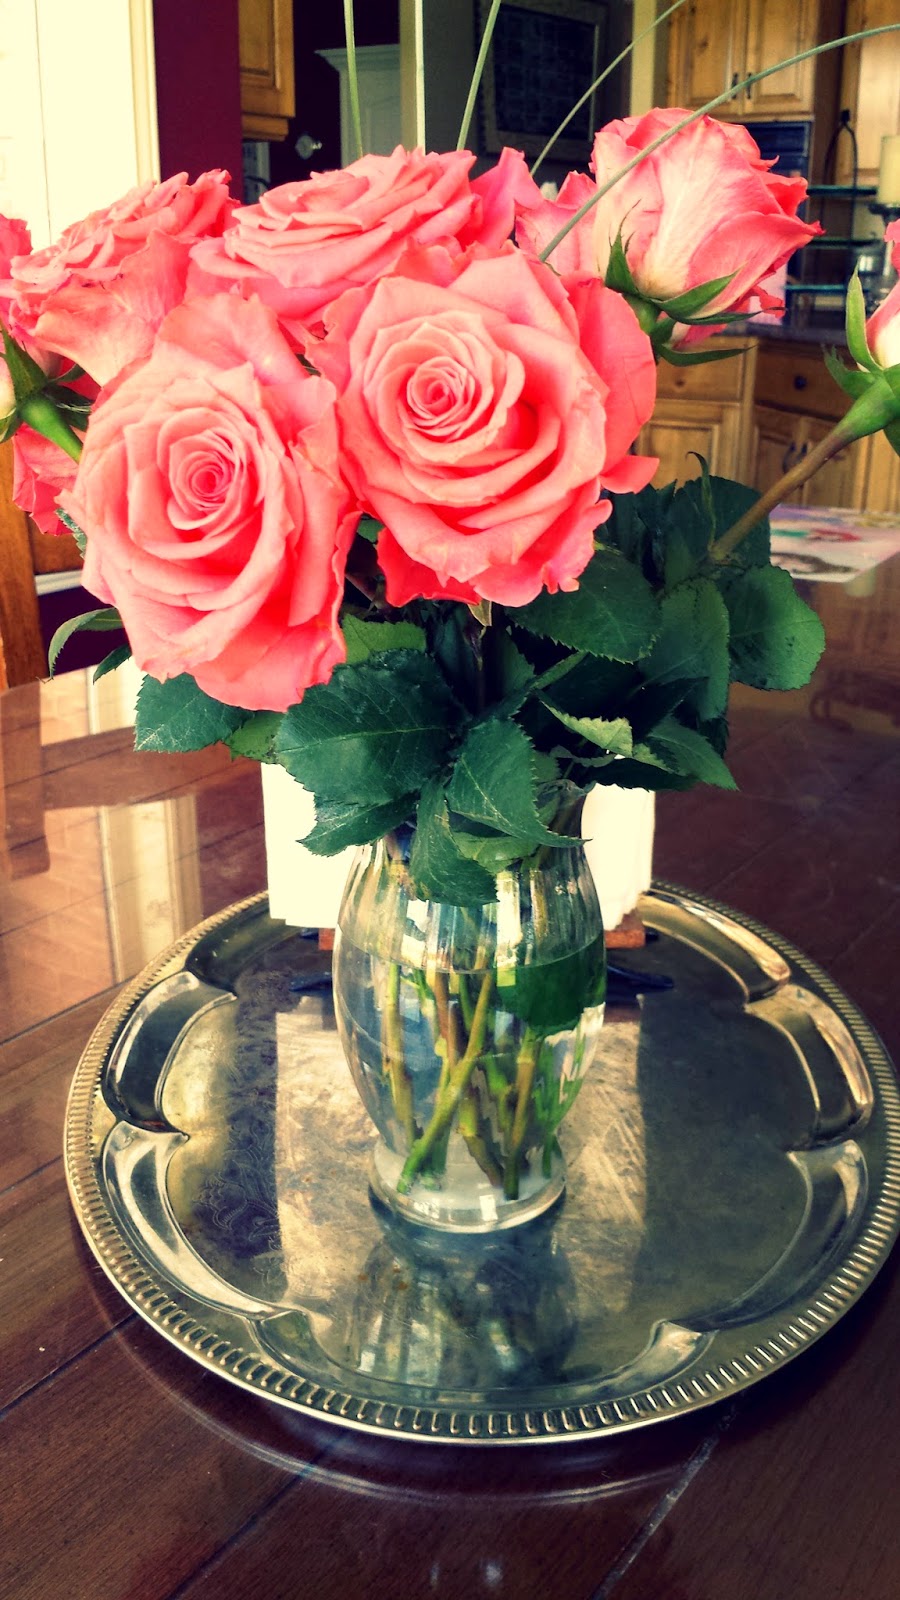
I have a confession.....I'm not a flower kind of girl.  I can't grow them or keep them alive, and getting a bouquet isn't my thing.  However....I do like looking at them, I'm not a total flower scrooge.  But I would rather be given a cupcake, or double chocolate brownie....you get the picture. So the other day my oldest was given a beautiful rose bouquet from her boyfriend, and I'm thinking maybe I missed out on years of beautiful flower opportunities.


Staring at this all week on my table, I've realized I could have had years of fresh flowers in my home. Keeping them alive is probably what has scared me off in the past. But I think the magic is in those powder filled packets that come with cut flowers because cut flowers are the only kind I can keep alive.

 
I fully admit a green thumb is a gift I did not get when the talents were being handed out.  So as a general rule in my decorating I tend to go with the everliving plant. AKA....the fake, plastic, easy to keep alive plant.


I can live with dusting every once in awhile over remembering to water house plants.  It's the solution for every busy mom out there who has to worry about keeping the kids fed and alive, but has no time to think about plants. But I think I might splurge and get flowers for my kitchen table every once in awhile.  Even my husband loved those roses on the table this week.  But if you are in the market for the everliving variety, and you live by an IKEA, they have quite a few reasonably priced varieties.  When I was staging my last home to put on the market, I had an IKEA plant in every room.   


They were inexpensive and fit in almost any smaller pot.  The greenery is just a small topper and can be moved easily moved around.  That made it easy for me when I moved to fit the plants into my new decor.


Even though I'm not a flower kind of girl.....I can still have the feel of living plants in my home. I wish keeping the kids fed was as easy as stopping by IKEA.  :)

Tuesday, May 13, 2014

A Blank Slate

I have had a dream since I was a teenager, when the decorating bug bit, and that was to design a home from top to bottom from scratch.  With my new home I kind of get to live out a part of that dream by being able to design a few rooms from a blank slate into something I love.  In my past homes my decorating was always dictated by either the age of the house or the colors/structures that were already there.  My new home has more rooms then we have ever had before and I am so excited to make them over into rooms we love. 
 
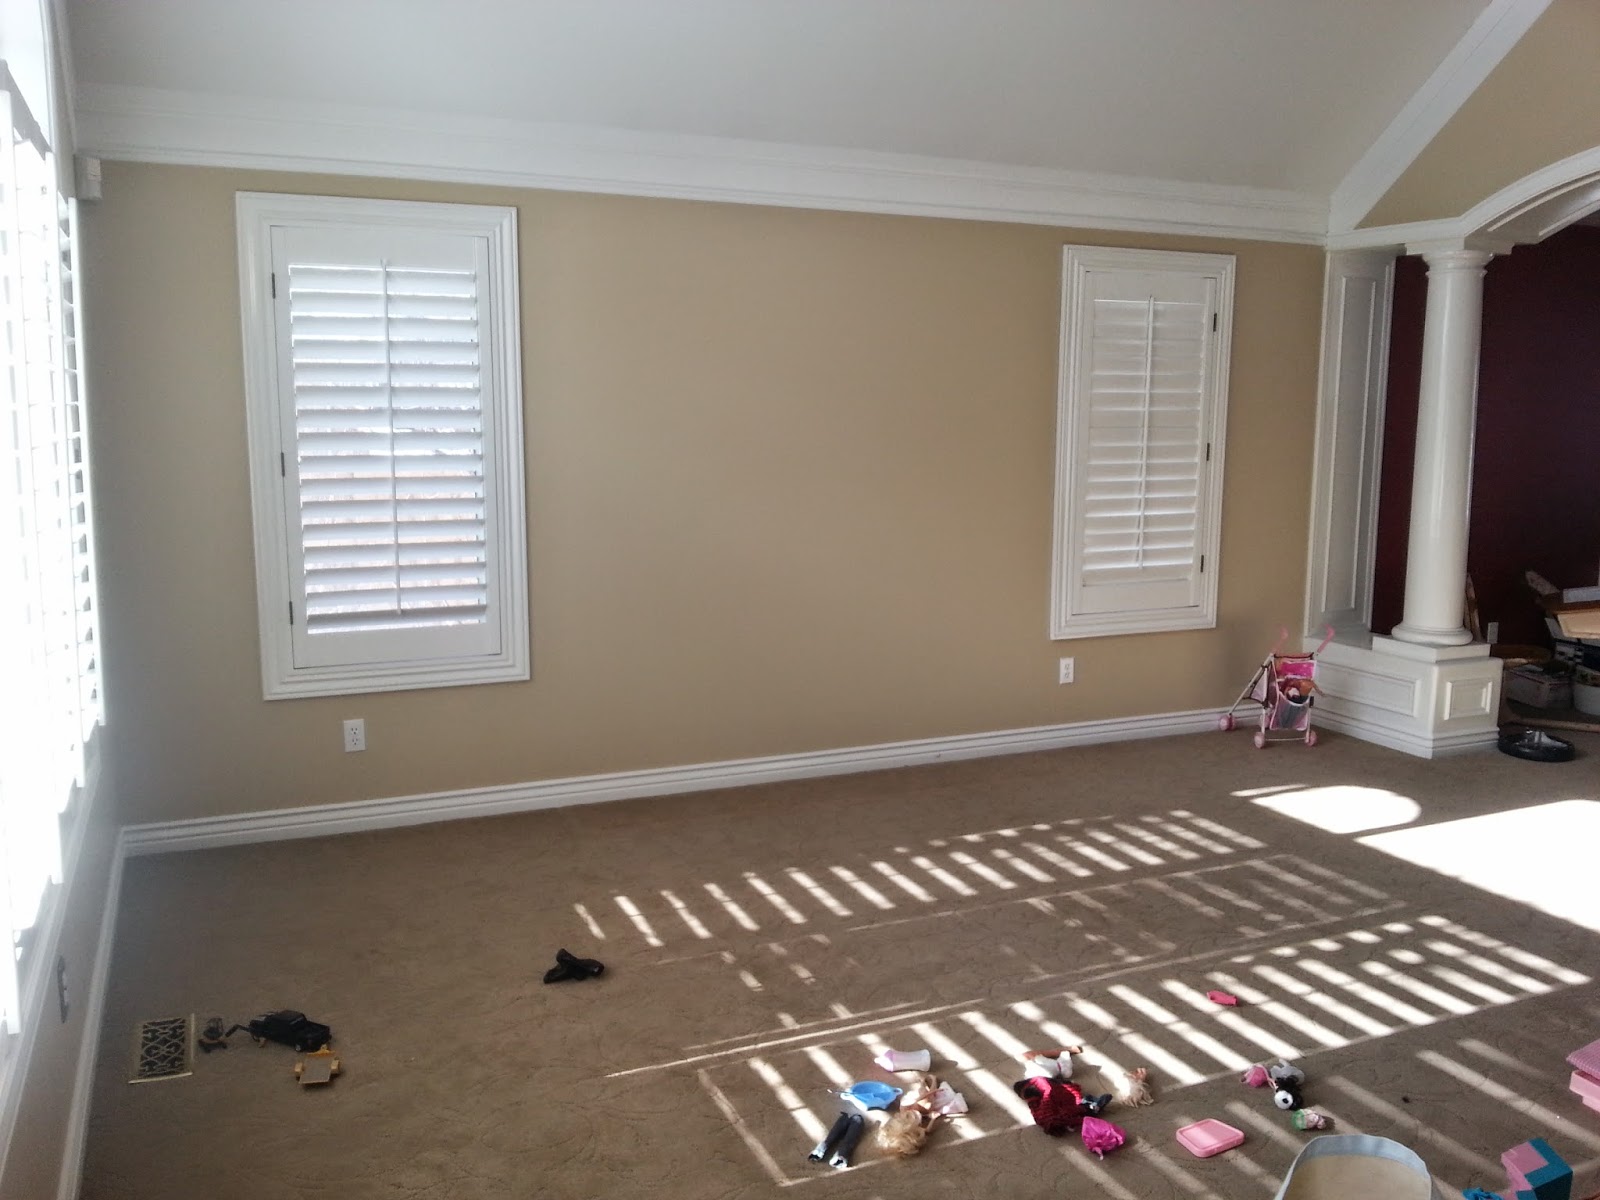
Our blank slate of a front room. 

 I have always thought it would be easy to take a blank room and do anything to it, but I have found that when you have limitless ideas, it can be hard to narrow it down.  


My master bedroom is one area that we are decorating right now and I thought it would be so simple to put together.  I was starting with a matress and white comforter, beige walls and white trim.  How hard could this be?

Not the greatest before picture but it shows the bed with no headboard and my sad little nightstand. Don't ask why my husband is on a brand new ladder.  It was a long night listening to that darn fire alarm!!!!!!!!

 Harder then I thought!!  I poured through Pottery Barn catalogs and also pinned like a crazy person.  And I finally came up with a color scheme that is actually out of my comfort zone.  I usually stick to reds and greens, but I am going crazy with orange.  Well, maybe not crazy, but orange will be playing a feature part in my master bedroom.  My husband was not on board when I first showed him the pillows that I found.  But SLOWLY it is coming together and he is coming around. 

Here is a sneak peak of the orange pillows that started the whole color scheme.  

And here is a sneak peak of what is to come in my master bedroom.

 
 I've been waiting weeks to use these pillows, and it will probably be a few more until I can reveal the whole room.  It's a process and even though it was tough to start with a blank slate, I am having a fun time putting this all together.

Monday, May 12, 2014

A Piece of History For Mother's Day

Mother's day has come and gone, and I received the wonderful, traditional flowers, candy and cards. But there was one item that showed my kids really know me, very well.  There is a story behind this gift and it was a group effort to actually acquire it. 

Here is the story of  how I became the proud owner of this vintage sign.  Isn't it cool?!  The picture doesn't really show how large it really is.  It is about 4 feet long and 2 feet wide.  And it's hefty!!


I moved to my town just over a year ago and every day as I drive my children to school, we pass the old abandoned high school.  On the side of the school gym were two signs that said "Gym Entrance" and pointed the way to the gym doors.  I love the pointing finger and the old font of the sign.  Every day, as I drove past, I wondered how I could talk someone into getting those signs down for me.  My kids suggested climbing the fence and taking them down myself, but I really didn't feel like getting arrested trying that option.  So, after a year the school board decided to tear down the old school because of the high cost of maintaining it.  I watched the old building slowly be torn apart.

 
 I know that it was old and would have cost quite a bit to turn it into a usable building, but I hate to see old buildings being torn down.  It feels like a part of history is being erased. 

One morning as I passed the school, the only remaining part of the school was the gym.  And my signs were still hanging on the wall.  I mentioned to my daughter that I wanted one of those signs and she laughed at me. But later that day during her lunch she sat across the street from the school and waited for a construction worker to talk to.  After, what she described as forever, a while she found someone to talk to and asked them if she could have that sign for her mom for mother's day.  They told her they would set it aside and ask the foreman if she could have it.  My daughter went back to school and was going to check back after classes got out. I had no idea she had done this as I passed the old school later that day.  I saw the sign laying against the building and I pulled over just as a worker was walking by.  I asked him if the sign was going in the garbage and if I could have it.  He gladly handed it over the fence to me!!  I was so excited!!  It barely fit in the back of the car, and my other daughter was laughing at me, but I got the sign!!

My oldest daughter was bummed that I got it before her, but I told her that by the time I was driving back by the school they had torn down the area by the sign and it would've been in the dumpster. We had worked together, unknowingly, to get this sign, and I was so touched she would do that for me.  I have no idea where it will end up in my home, but I feel like I am preserving a piece of history. I love items with history and a story.  I have many pieces in my home that have come from family, antiques stores, and garage sales.  Those pieces have a depth to them that new pieces don't.  It makes my house feel like a home, rather than a showroom. 

Thursday, May 8, 2014

Mantel Possibilities

One of the many areas (and there are many!) I love about my home are the two fireplaces and their mantels.  I have never truly had a proper mantel before and now I have two of them!  Mantels are one of the easiest ways to add color, impact, and a focal point to a room. Plus, they are so fun to change up for the season or holiday.  Old windows, which I found at a local store, are the perfect size for my mantel. Plus, they can be utilized in so many ways. 

This is my fall mantel and after living with it for a few days I felt it needed a little something. While perusing pinterest for ideas, I came across a burlap swag and I knew it would go perfectly with my fall decor.  I had all the supplies on hand, so I cut up a billion a lot of burlap strips and tied them to a long strand of twine.
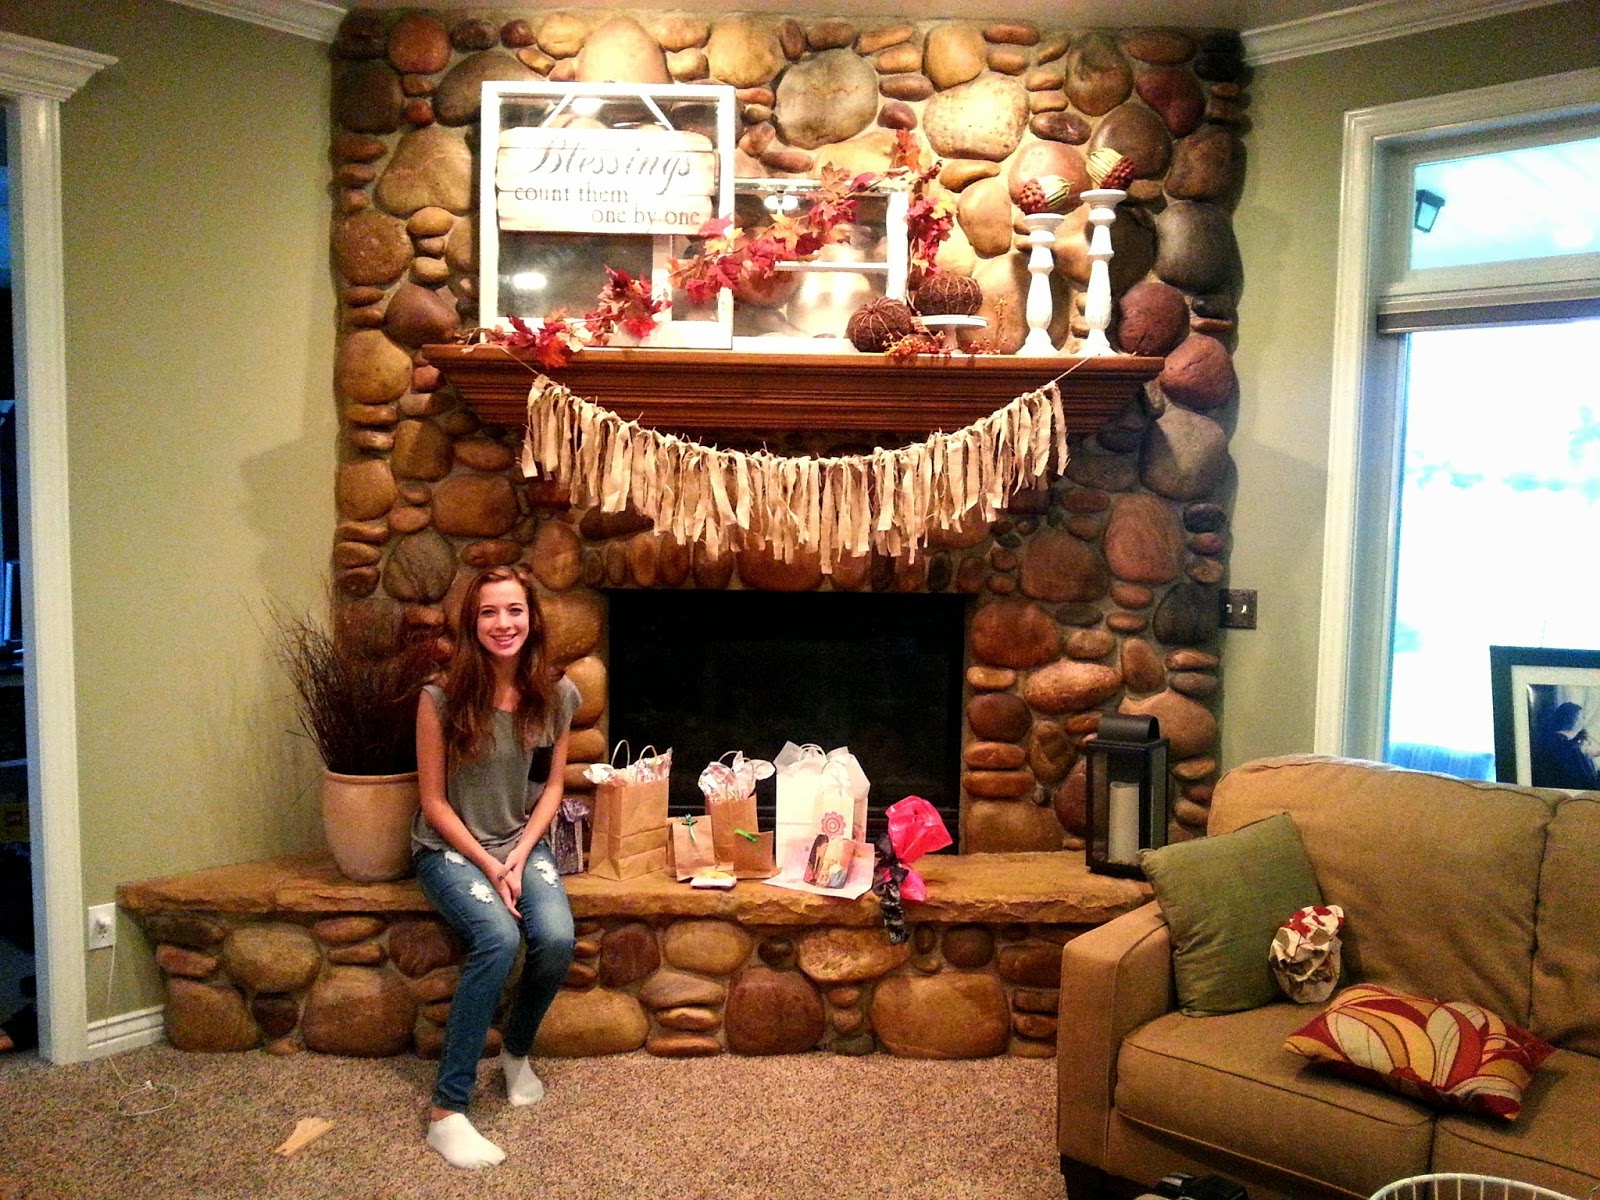
Daughter  number one's birthday.
I really like the texture that it added (my husband was iffy on the burlap). It may be a bit trendy, but it worked great for 2013!


My other mantel is in our tv room, but it doesn't get a make-over as frequently as the family room mantel.  The tv room sees a lot of kids, it's out of the way from other areas of the house, so most of the time it looks mostly like the picture below.


I found the old, green window screen at a garage sale about 12 years ago, and it has moved three times with me. I love old salvaged pieces from buildings.

 
At Christmastime I had fun turning our mantels into festive holiday displays.


Having a blog about my home wasn't in the works at Christmastime, so I had to dig through quite a bit of media to find a picture of my mantel.  It wasn't easy to find a good picture, so the quality of these are really quite blurry, sorry!

 
This is a view from Christmas Eve.  I had greenery, red berries, and a cute little reindeer on the end.  And again, the old windows worked for this display too.

The tv room mantel is where we hung our stockings for Santa.


Again, the picture is of another picture, but you get the idea :) 


Mantels are great for birthdays too!  Especially holding up signs for the birthday girl!

My current family room mantel was put together in March when I was done with winter and wanted something a little springier, is that a word? 


This is a picture of our first home that we purchased in 1997.  I thought it looked like a vintage photo printed in a sepia tone.  The house is over 100 years old, but the picture was just made to look old and printed out on my home printer. Hanging it on twine with mini-clothespins added another layer of texture, but also added some whimsy.  Seeing it everyday is a great reminder of how we started off in our home as a tiny family of three, and now we are a family of 7!  What a wonderful way to remember the blessings I have in my life!  


On the other end of the mantel are two wooden birdhouses that have moved with me from our old house.  The little tiny couple inside the church birdhouse was actually the topper on my wedding cake.  The kids think it's funny, so they hang out there. 

I'm not sure how long I'll live with the current mantel.  I like to change things up without having to redecorate my home every few weeks, and a mantel space is perfect for changing the look of a room without spending any money.  Most of the time I shop my own home for items to group together.  I can get my decorating fix whenever I feel the need to redecorate without making my husband see $$.